
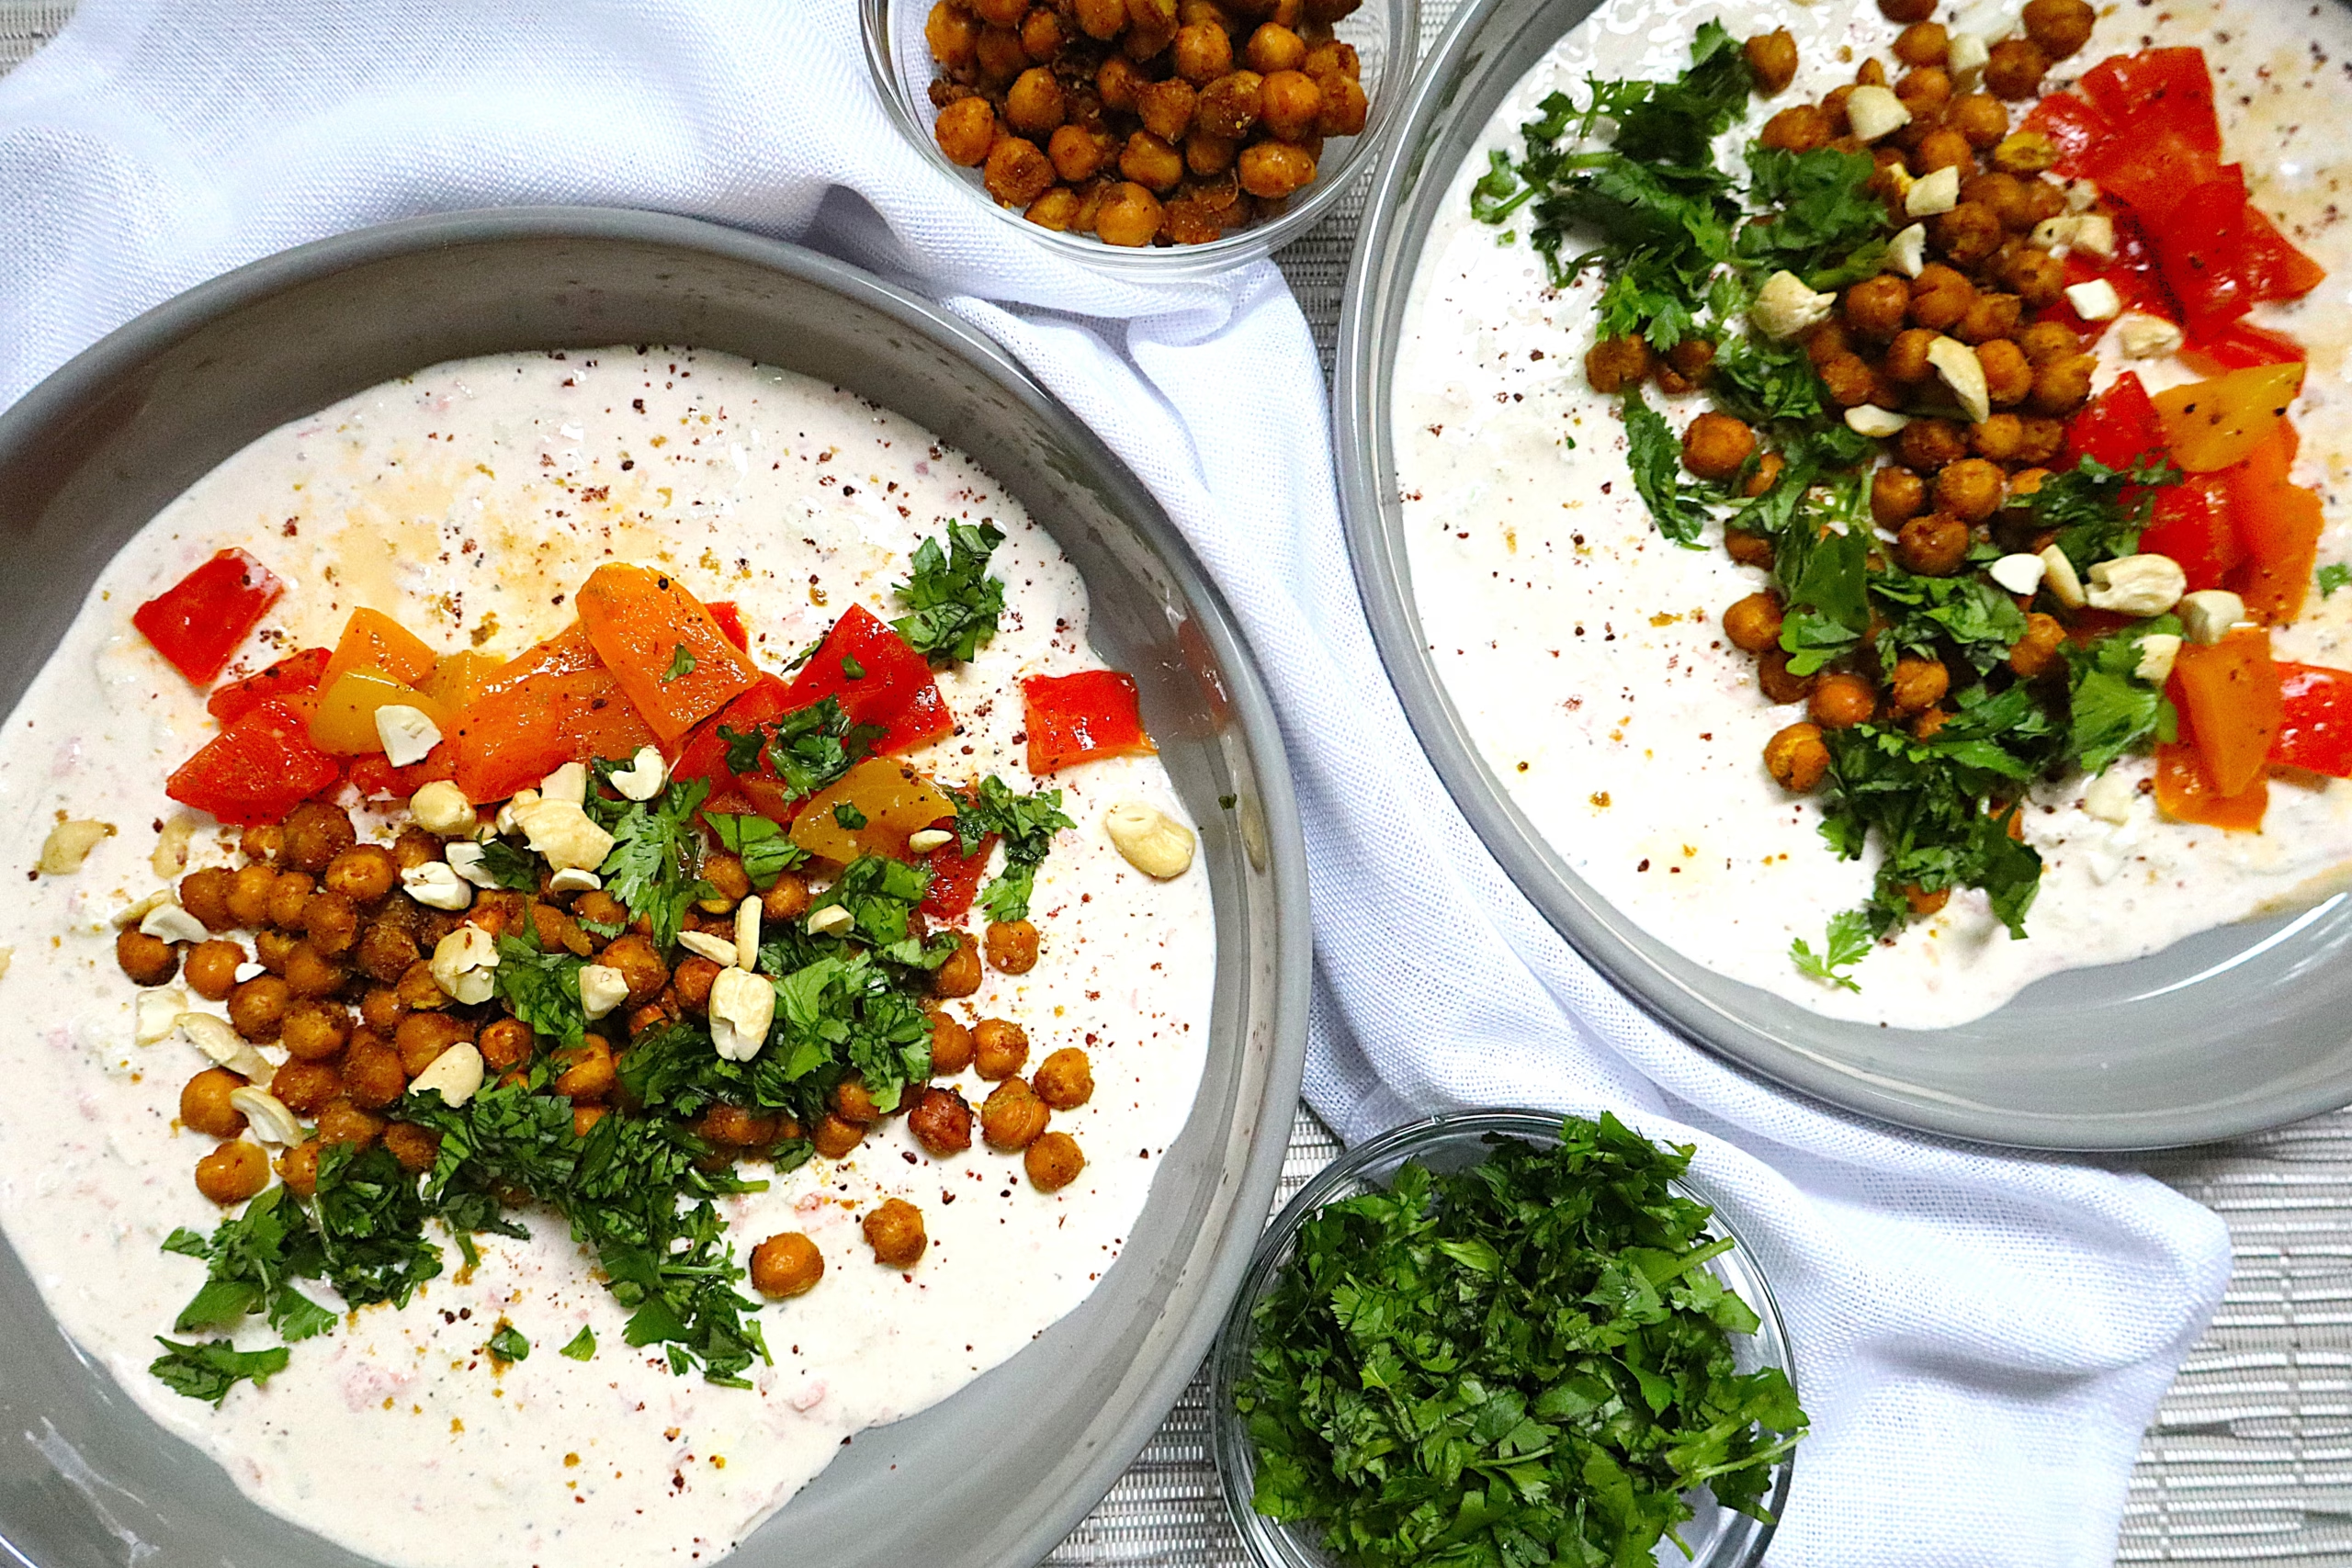
My Savory Indian Yogurt Protein Bowl is a protein-packed dish layered with warm spices and satisfying crunch in every bite. It’s a satisfying bowl that hits the spot any time of day!
SAVORY Indian YOGURT PROTEIN BOWL
Yogurt bowls are everywhere these days, and I love a good, sweet one loaded with fruit and honey. But I love switching things up even more, and that’s exactly why I started making savory yogurt protein bowls, too! And because I’m Indian, of course, I had to bring you my Savory Indian Yogurt Protein Bowl.
This one is a little different because I don’t just use plain yogurt as the base. I make an actual Indian raita, loaded with crisp cucumbers and juicy tomatoes, and once you see how I make it, you’ll understand why it’s one of the best raitas I’ve ever tasted! Plus, warm Indian spices like cumin and turmeric are some of the best things you can add to your plate. This bowl also brings perfectly seasoned chickpeas, colorful roasted veggies, and a little extra crunch on top to round everything out.
If you’ve never tried a savory Indian yogurt bowl before, this is your chance to see what you’ve been missing. It’s herby, it’s spicy, it’s fresh, it’s bold, and it’s absolutely loaded with nourishing, feel-good ingredients. Honestly, it tastes like eating at your favorite Indian restaurant, minus the effort of a full Indian feast.
So, let’s get to making it!
HOW I MADE OVER THIS BOWL:
The ingredients in this bowl will have you as excited about it as I am!
Yogurt provides a creamy source of protein and probiotics. Cucumbers add hydration and support healthy digestion. Tomatoes contribute lycopene and a strong dose of antioxidants. Chickpeas bring plant-based protein and fiber to keep you full longer. Bell peppers add a boost of vitamin C. Cumin supports digestion and helps with nutrient absorption. Turmeric contains anti-inflammatory properties. Cashews contribute magnesium, zinc, and healthy fats. Cilantro adds a dose of antioxidants and supports detoxification.
Every single ingredient in this bowl is pulling its own weight, and that’s exactly what makes it so good for you!
This recipe is gluten-free, refined-sugar-free, egg-free, soy-free, grain-free, and vegetarian.
HERE’S WHAT YOU’LL NEED:
(Use organic ingredients when possible)
Greek yogurt
Cucumber
Tomato
Chickpeas
Bell peppers
Cumin
Turmeric
Ground ginger
Paprika
Onion powder
Garlic granules
Sumac
Salt
Cilantro
Cashews
Olive oil
THIS IS HOW YOU’LL MAKE IT:
Get ready to try one of my favorite things to make!
I always keep a variety of roasted vegetables, like colorful bell peppers, on hand in the fridge. If you don’t have any roasted bell peppers ready to go, simply wash, chop, and roast them in the oven with a little salt until they’re tender.
Next, prep the cucumber and tomato. To make this raita Mita’s way, peel and grate a cucumber. I prefer English cucumbers because they have very few seeds, and that’s important for this recipe. Place the grated cucumber on a clean kitchen towel and squeeze out as much moisture as possible.
Now grate a tomato. That’s the secret to my version and what makes it different from many raitas you typically find in Indian restaurants. You want the tomato, including all its juice and pulp, to blend into the yogurt because it adds incredible flavor.
Use a thick Greek yogurt since it holds up well once you mix everything. Add the grated cucumber, tomato, cumin, garlic granules, and salt. Mix it all up, and place it in the fridge while you prepare the rest of the bowl. This helps to thicken it up a bit!
Now it’s time for the chickpeas. Drain and pat them completely dry with paper towels or a clean kitchen towel. Don’t skip this step. Any remaining moisture will keep them from getting crispy in the air fryer.
Once they’re dry, toss the chickpeas with the olive oil, then add the turmeric, ground ginger, cumin, paprika, onion powder, garlic granules, and salt. Mix well so every chickpea gets coated with the spices. Place them in your air fryer and stir halfway through. Use a parchment liner if you have one for easier clean-up! Air fry until they’re golden brown and rattle like little pebbles when you shake the basket. Let the crunchy chickpeas hang out for a few minutes before adding them to the bowl so they don’t warm the raita too much. They’ll also continue to crisp up a bit as they cool.
While the chickpeas cook, toast the cashews in a skillet over medium heat until they’re lightly toasted and crunchy.
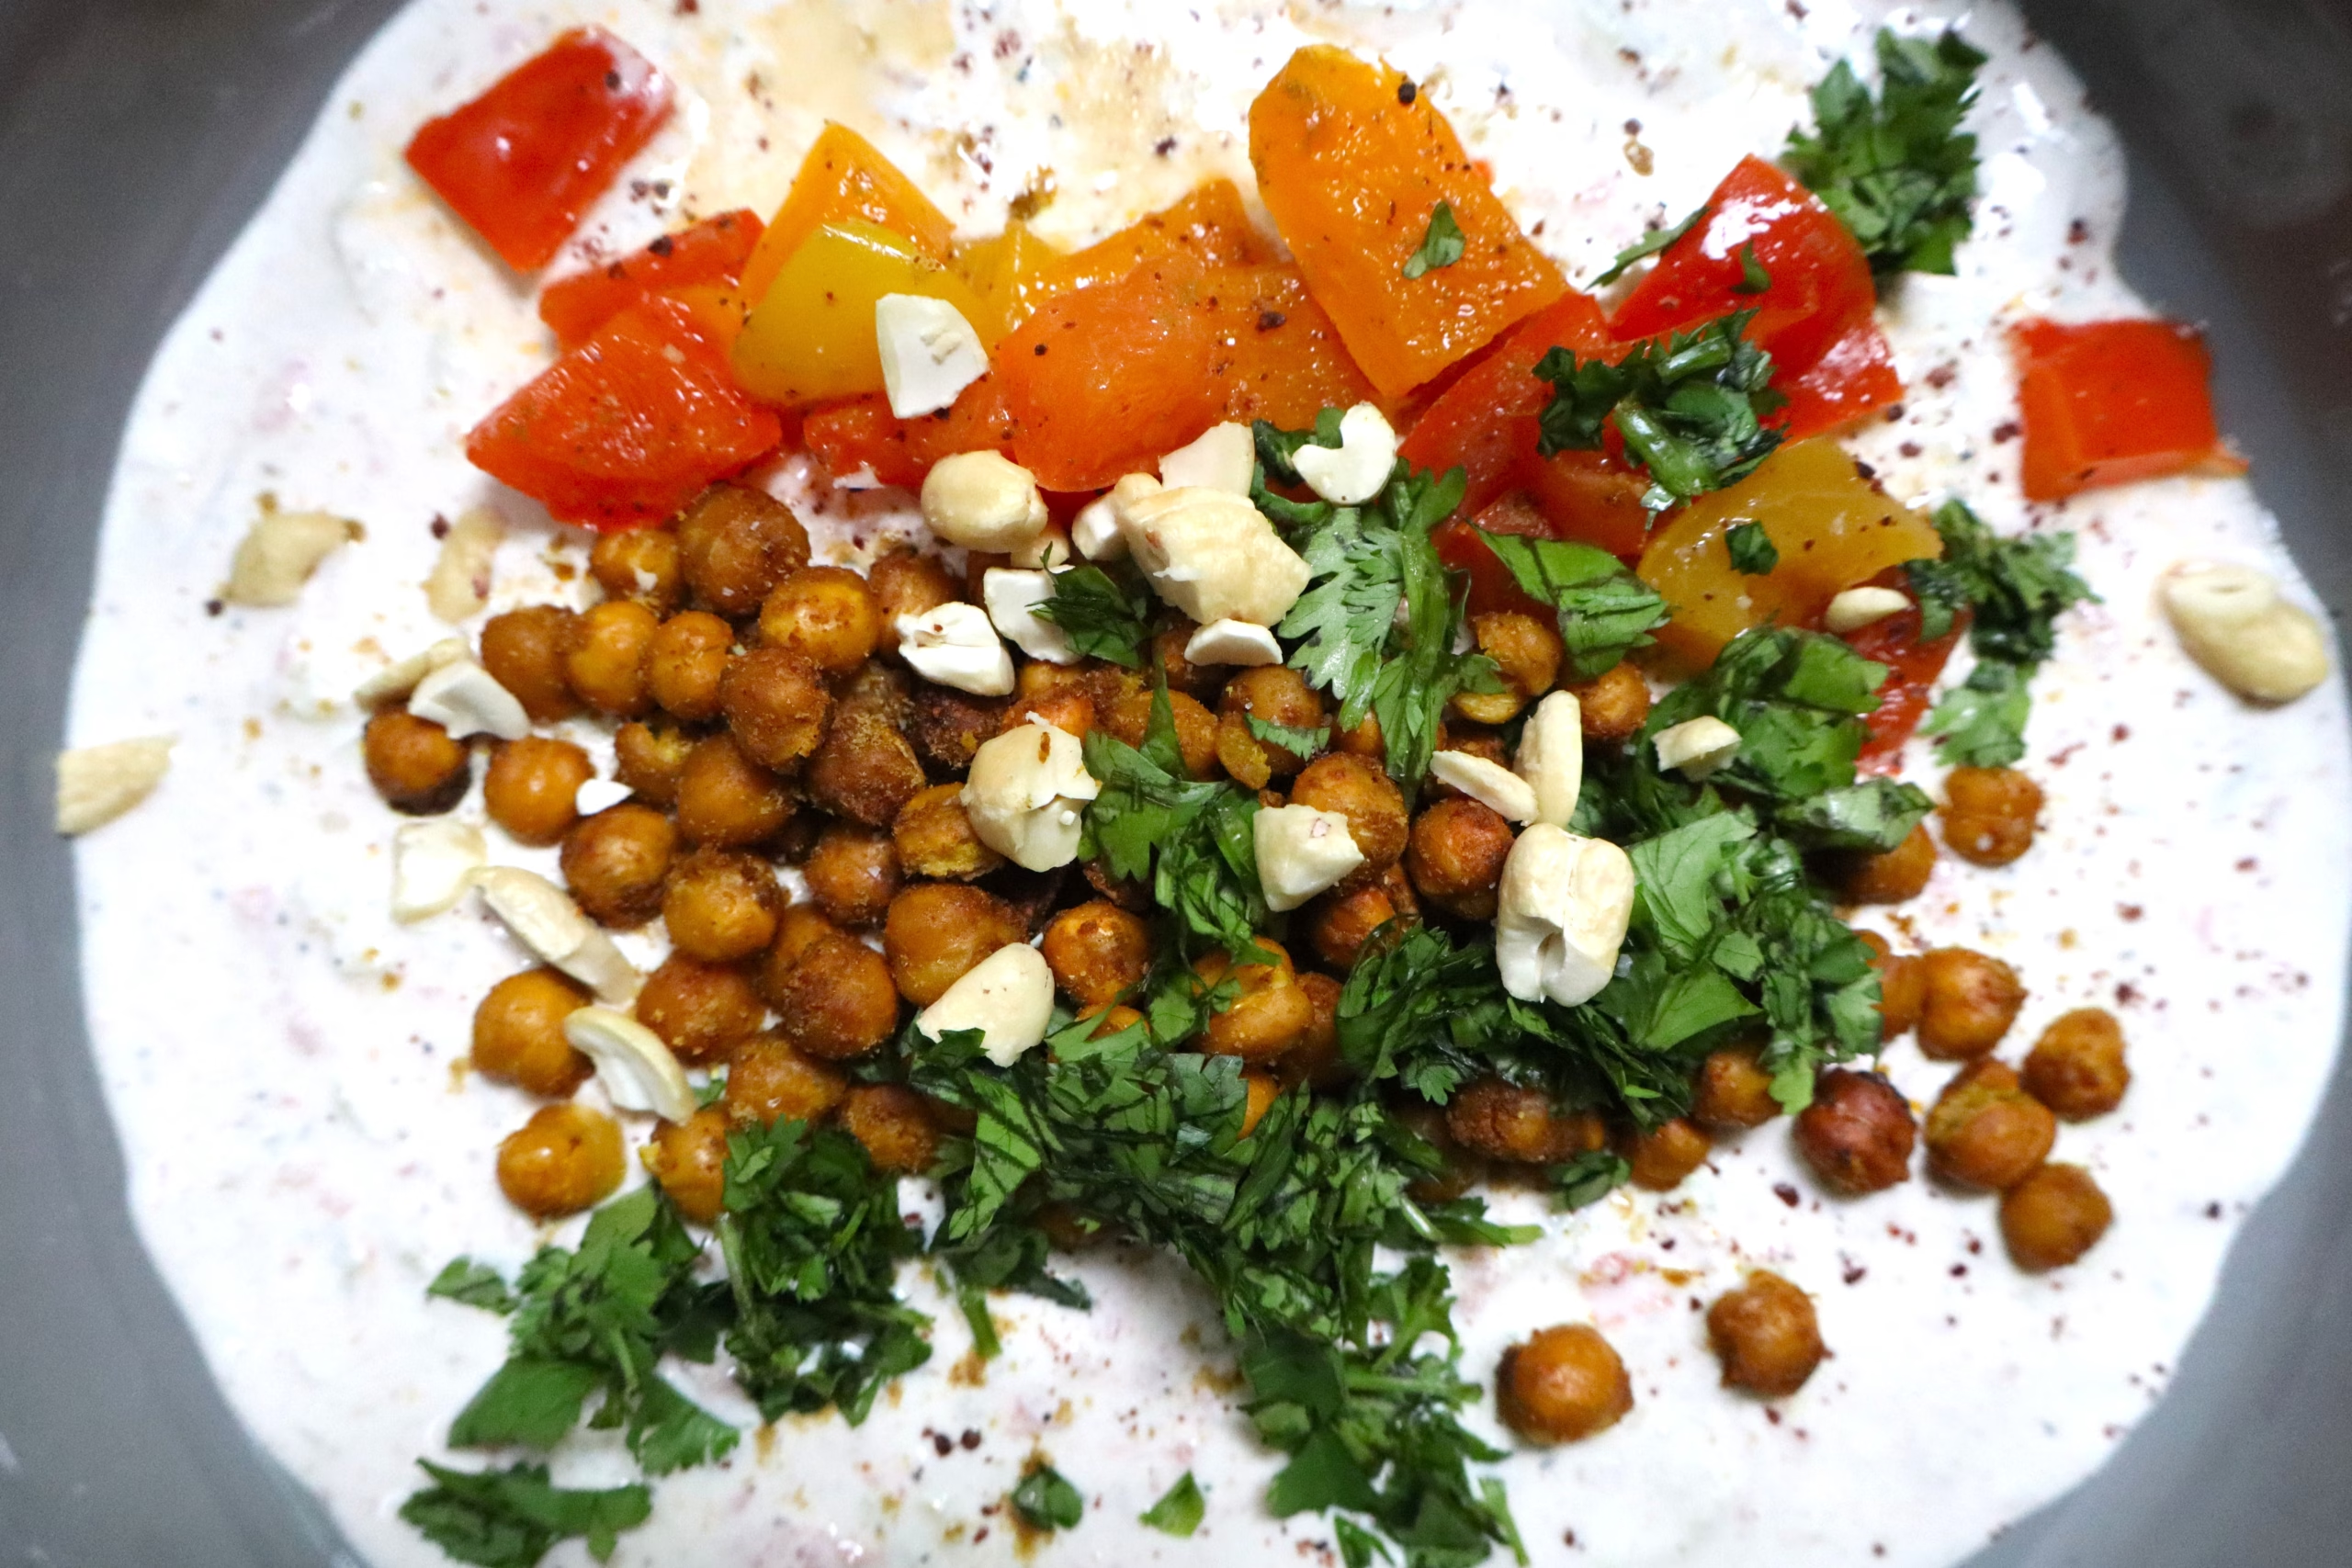
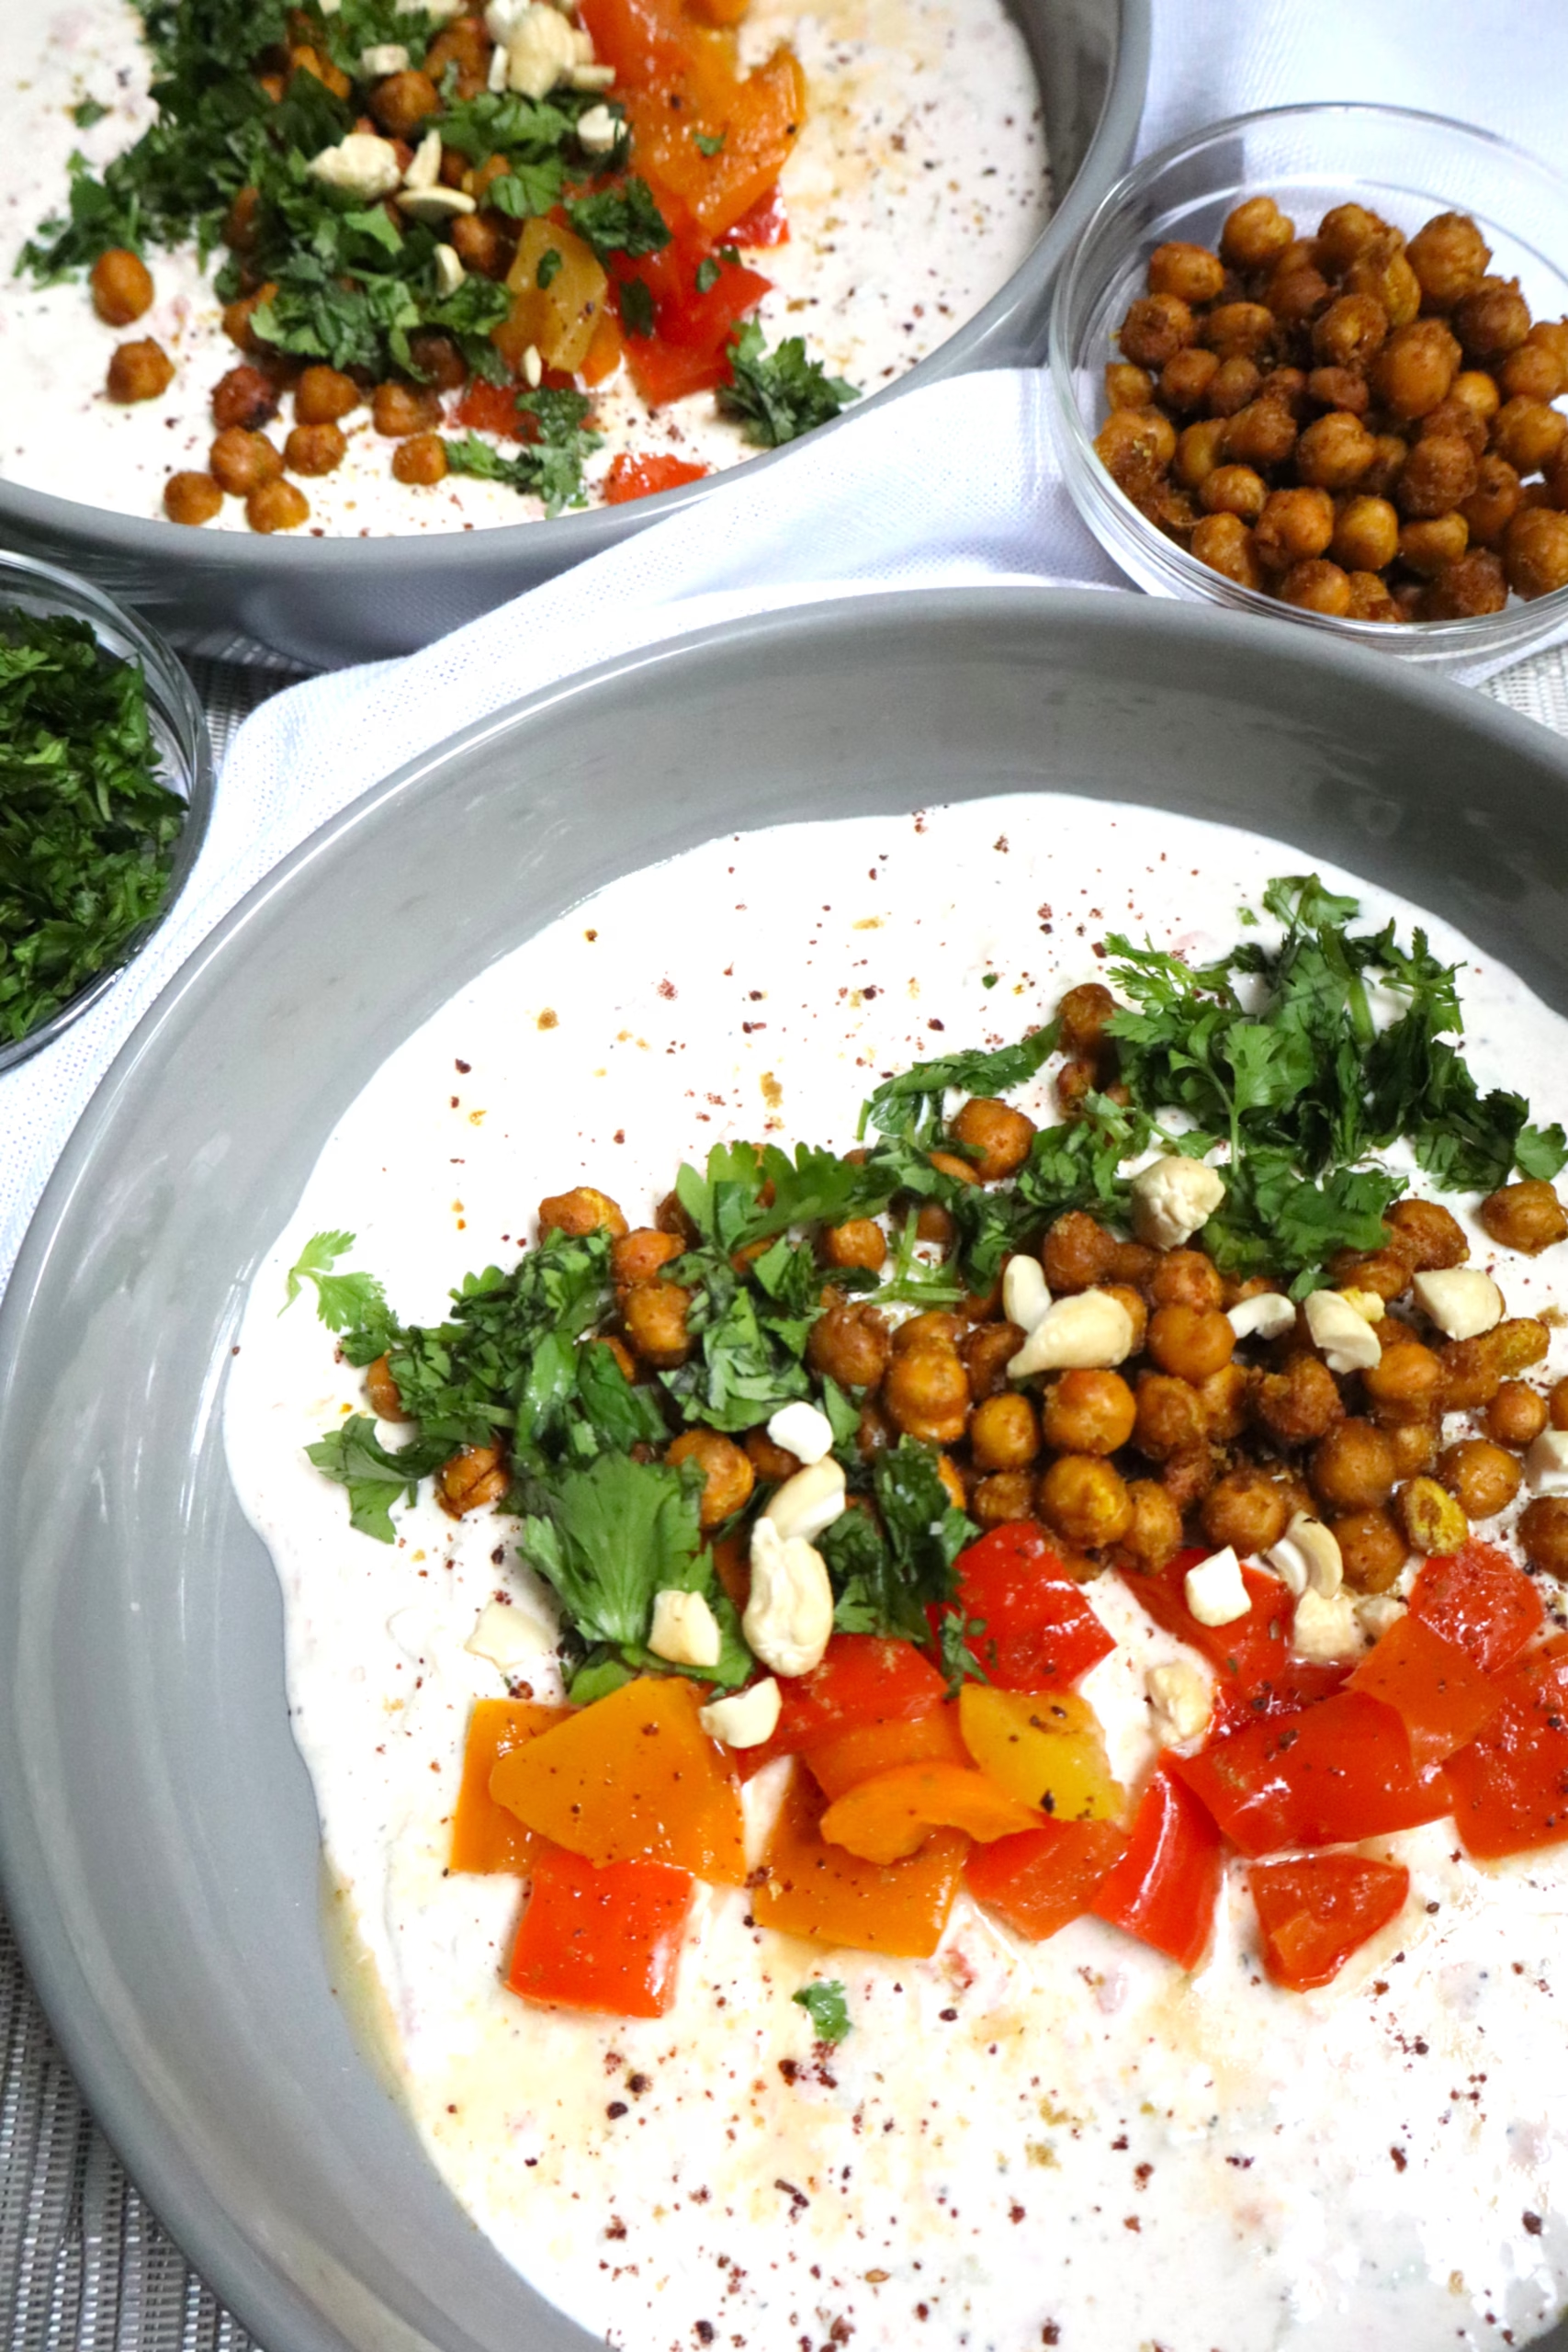
To build, spoon some of the raita into a bowl. Top it with the roasted bell peppers, crispy chickpeas, toasted cashews, and fresh cilantro. For an extra-special touch, finish with a sprinkle of citrusy sumac.
Dig in and enjoy!
SERVING SUGGESTIONS:
Serve this bowl alongside warm naan or pita.
Pair it with a side of basmati rice.
If you want even more protein, serve it alongside roasted chicken breast, spiced with Indian seasonings, or another one of your favorite proteins.
MITA’S MUST-KNOW TIP:
When perfecting any recipe, the right amount of salt, spices, and sweeteners depends on the size and flavor of the produce you use, and that might be different from what I used when I developed this recipe. Your zucchini might be tiny compared to mine, your strawberries could be on the verge of being jam, and your tomatoes might be less tomato-y than expected, so taste as you go! If you add more veggies or swap anything in, a little seasoning tweak might be needed. You can totally make this dish your own, and if you go a little overboard, you can probably fix it. But tasting often means you won’t need a backup plan… or a backup meal!
FREQUENTLY ASKED QUESTIONS:
Q: Can I make the raita ahead of time?
A: Great question, and the answer is yes! You can make the raita a day in advance and store it in the fridge; just give it a good stir before serving since the yogurt may release a little liquid as it sits.
Q: Sooo, how would it be if I used a different type of bean instead of chickpeas?
A: I don’t really know if another bean would taste the same, but if you try it, let me know in the comments how it turns out for you!
Q: I know it’s a yogurt bowl, but can this bowl be dairy-free?
A: Great question and very important if you avoid dairy! You sure can. Just swap the Greek yogurt for a thick, plain dairy-free yogurt alternative, and the rest of the recipe stays the same.
STORAGE AND LEFTOVERS:
Store the raita and chickpeas separately in airtight containers in the fridge.
The raita will keep for up to 3 days, and the chickpeas will stay good for about 2 days.
Keeping them apart is key here… storing them together will cause the chickpeas to lose their crunch and turn soggy from the moisture in the yogurt.
When you’re ready to eat again, reheat the chickpeas in the air fryer at 400°F for 3 to 4 minutes to bring back their crisp texture. I would not put them in the microwave, because that will result in soft chickpeas!
You can also toast a fresh batch of cashews to top the bowl with.
Give the raita a good stir before serving again, since the yogurt may release a little extra liquid as it sits.
Once everything’s ready, rebuild your bowl fresh with the cold raita, warm crispy chickpeas, roasted bell peppers, cilantro, and cashews.
ADDITIONAL NOTES:
English cucumbers work best here since they have fewer seeds and less water than regular cucumbers, but if that’s all you have on hand, just make sure to squeeze out as much moisture as you can.
If your raita seems a little thin after mixing in the cucumber and tomato, let it sit in the fridge for 10 to 15 minutes before serving. It thickens up as the yogurt settles.
NUTRITIONAL VALUES:
I don’t include nutritional values in my recipes because I believe in intuitive eating and balanced nutrition. Since ingredient brands can vary, the numbers aren’t always consistent. If you’d like a more accurate breakdown, I recommend entering this recipe into MyFitnessPal or a similar tracker.
For more great Lunch & dinner ideas, check these out!
Lightened-Up Cauliflower Fried Rice with Shrimp
Wholesome Veggie Stuffed “Mexican” Egg Bake
Sweet & Savory Orange Honey Rosemary Chicken Thighs
Simple & Healthy Mango Coconut Chicken & Vegetable Curry
Meatless Monday: Spinach Portobello Stuffed Mushroom Bake
For more DELICIOUS INDIAN INSPIRED RECIPES, check these out!
Healthy Quick & Easy Indian Eggplant Bharta
Simple & Healthy Mango Coconut Chicken Vegetable Curry
Heart-Healthy Banana Chai Oat Cookies
If you make this recipe, I’d love it if you left a comment and star rating below! And don’t forget to tag me on Instagram so I can see your creation. Feel free to reach out with any questions, and I’ll do my best to help!
Print
Savory Indian Yogurt Protein Bowl
- Prep Time: 15 minutes
- Cook Time: 20 minutes
- Total Time: 35 minutes
- Yield: 2 Large or 4 small servings 1x
- Category: Apps & Snax, Dinner, Indian Inspired, Lunch, Lunch & Dinner, Side Dish, Snack
- Method: Air fry
- Cuisine: Indian
Description
My Savory Indian Yogurt Protein Bowl recipe is a protein-packed dish layered with warm spices and satisfying crunch in every bite. It’s a satisfying bowl that hits the spot any time of day!
Ingredients
- 1 1/2 Cups Greek yogurt
- 1/2 Large cucumber, English
- 1 Medium tomato
- 1 15.5 Oz can chickpeas
- 1 Cup bell peppers, roasted
- 1 1/2 Teaspoons cumin, divided
- 1/2 Teaspoon turmeric
- 1/4 Teaspoon ground ginger
- 1/2 Teaspoon paprika
- 1/4 Teaspoon onion powder
- 1 Teaspoon garlic granules, divided
- 1/4 Teaspoon sumac
- 1 3/4 Teaspoons salt, divided
- 2 Tablespoons cilantro, chopped
- 1/4 Cup cashews
- 1 Tablespoon olive oil
Instructions
- If you don’t have roasted bells already prepped, wash, chop, and roast colorful bell peppers in the oven at 350 with a little salt until tender.
- Peel and grate 1/2 of a large English cucumber. Place it on a clean kitchen towel, and squeeze out as much moisture as possible. Grate 1 medium tomato. Add the grated cucumber and tomato to the Greek yogurt along with 1 teaspoon cumin, 1/2 teaspoon garlic granules, and 1 teaspoon salt. Mix, taste, adjust for seasoning, and place in the fridge.
- Drain 1 can of chickpeas and pat completely dry.
- Toss with olive oil, then add 1/2 teaspoon turmeric, 1/4 teaspoon ground ginger, 1/2 teaspoon cumin, 1/2 teaspoon paprika, 1/4 teaspoon onion powder, 1/2 teaspoon garlic granules, and 3/4 teaspoon salt.
- Mix well, place in the air fryer, and stir halfway through. Air fry until golden and crispy.
- As the chickpeas cook, toast the cashews in a skillet over medium heat until golden and crunchy.
- When the chickpeas are done, allow to cool for a few minutes. Taste and adjust seasoning if necessary.
- To build, spoon the raita into a bowl.
- Top with the roasted bell peppers, crispy chickpeas, toasted cashews, and fresh cilantro. Finish with a sprinkle of sumac.
- Dig in and enjoy!




3 thoughts on “Savory Indian Yogurt Protein Bowl”
This was inspired! Love eveything in this bowl, my new favorite. 5 stars easy!
Thank you so much, glad you loved!
This dish was delish. I cooked it and my family loved it. Especially on a hot day!